Making chocolate is fairly simple, but it does require some equipment. Here’s what I use to make my homemade chocolate!
Here’s what I use to make chocolate:
- Roasting the beans: Behmore Coffee Roaster 2000AB Plus
- Modified to allow a thermoprobe to measure bean temperature
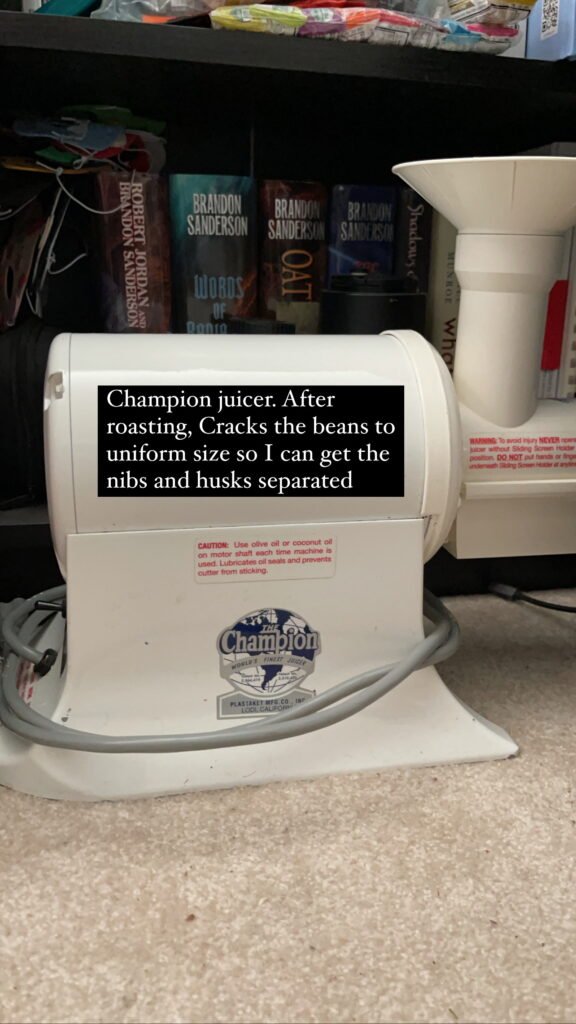
- Separating the beans: Champion Juicer 2000
- Winnowing the husks and nibs: A cheap hair drier
- Conching into chocolate: Premier Small Wonder Table Top Wet Grinder 1.5L
How I make chocolate
First, I buy beans from several sources, like Meridian Chocolate, Chocolate Alchemy, and Dandelion Chocolate.

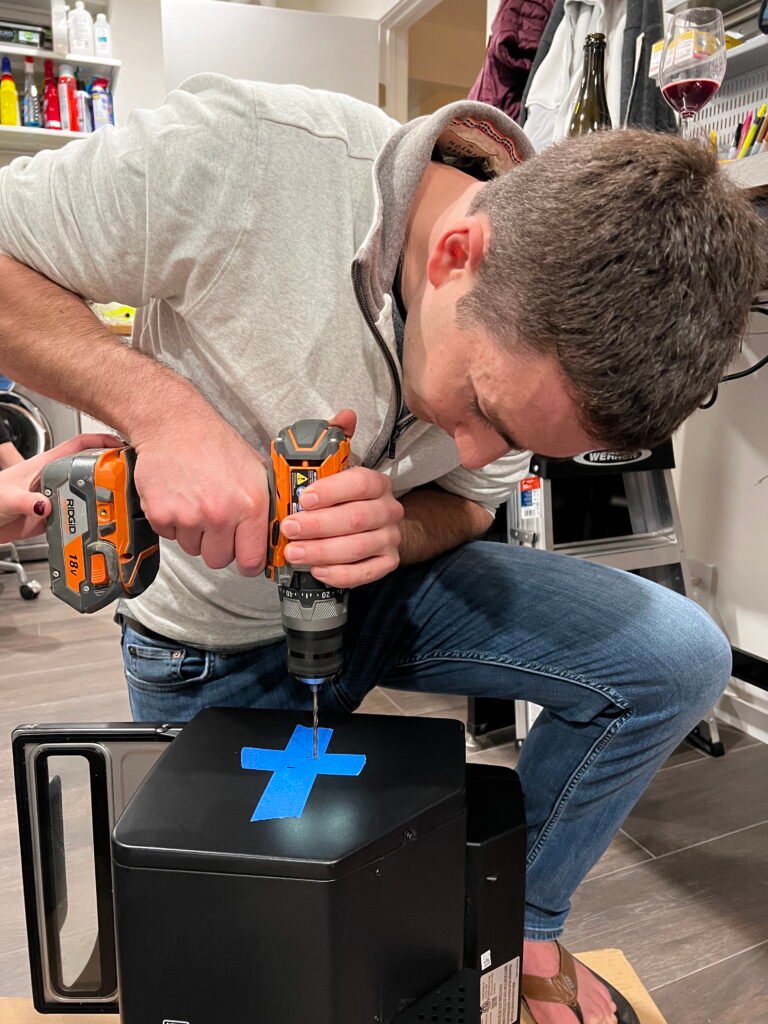
Next, the beans go into a Behmore Coffee Roaster that can handle 1kb (~2.2 lbs) of chocolate beans at a time. The drum roaster allows the beans to evenly roast, with the tumbling action making sure the beans all receive the heat throughout the bean.
I enlisted the help of my friends Andy and Amanda to help me modify the roaster so I could place a thermoprobe into the roaster, allowing me to measure bean temperature. This is what allows me to roast to a specific profile.
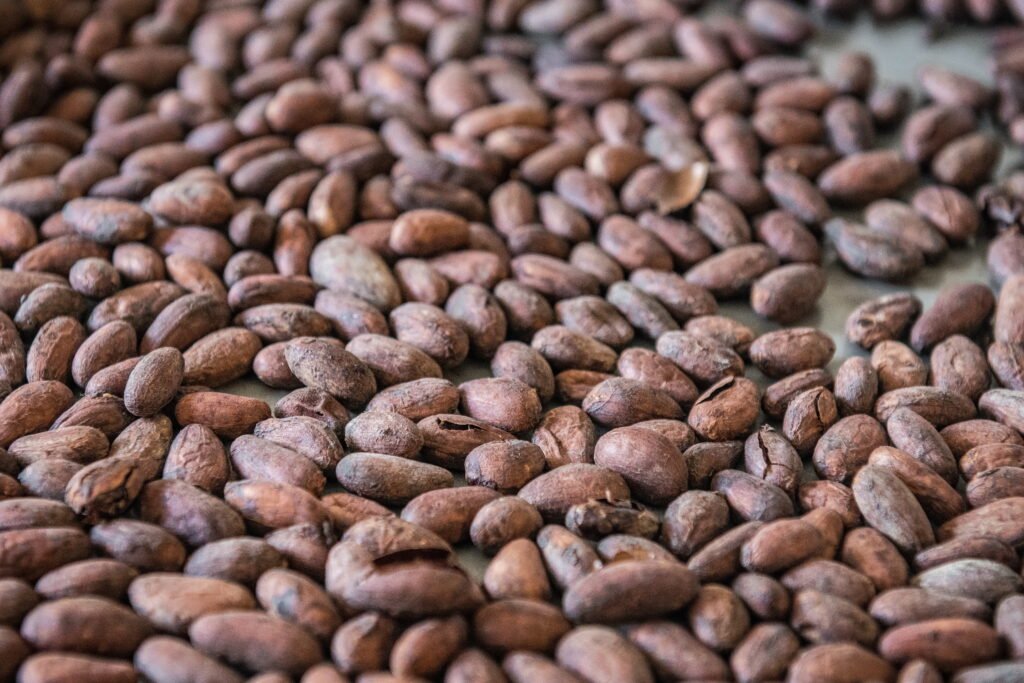
Once the beans are roasted, they have a crisp outer husk and you can see cracks in them, with a peak into the nibs inside.
It’s now time to get the nibs out of the husks and I use a Champion Juicer to do that. It does a great job of cracking the nibs into roughly uniform sizes without pulverizing the nibs. This makes it easy to separate the heavy nibs from the light husks in the next step.
Previously I had tried running over the beans with my car or using a hammer or rolling pins, but these either crunched the nibs too small or were too time consuming. The Champion Juicer works great!
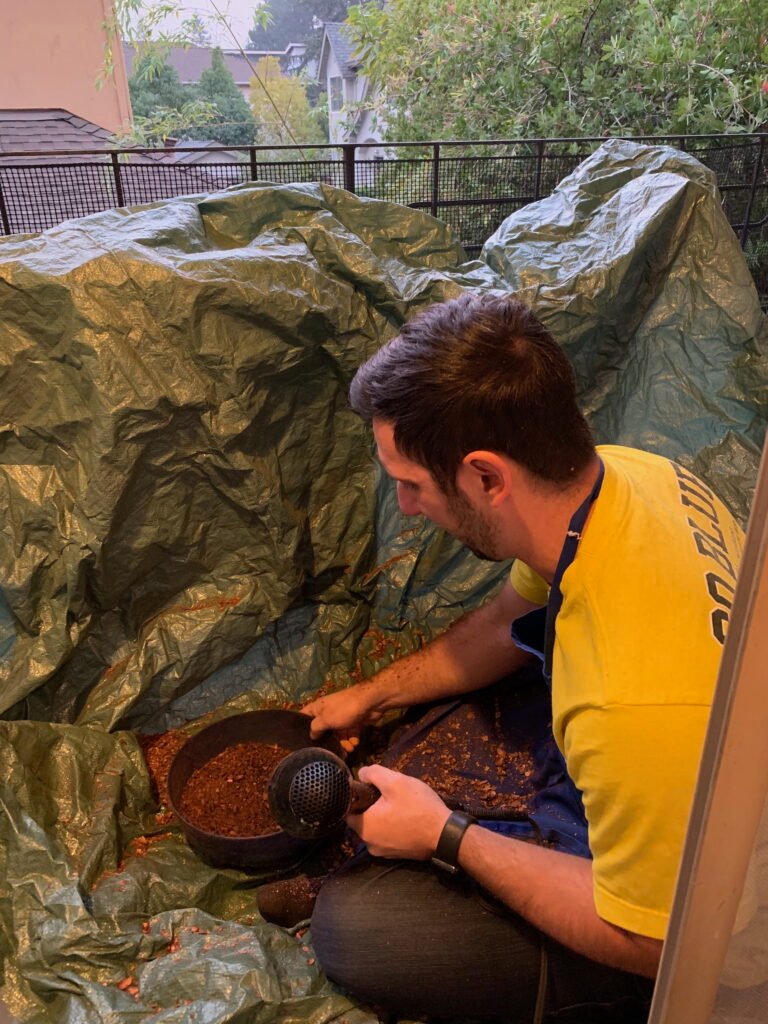
Next it’s time to get rid of the husks. They’re extra bitter, often contain nasty things on them, and don’t make the chocolate taste good. The best way to get rid of them is with air — they’re light and float away, while the heavier chocolate nibs stay put. There are fancy “winnowing” machines that suck away the husks, but I use a simple hair drier to blow away the husks. I use a big tarp to collect the husks, which are good as mulch.
We now have husks and nibs separate and it’s time to grind the nibs! I use a Chocolate “Melanger” to grind them.
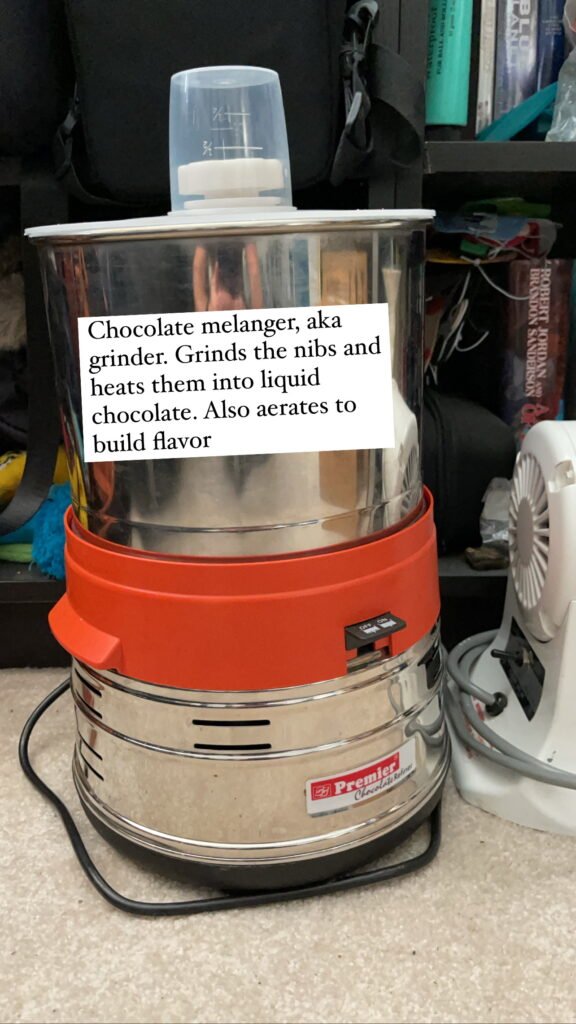
This stone grinder has 2 stone wheels that spin in one direction, while the bowl spins in the perpendicular direction. The stones grind the nibs, crushing them and adding heat. As the nibs heat up, they turn into liquid chocolate and the stone wheels smooth the chocolate. Over time, we’re left with extremely smooth liquid chocolate.
After about an hour of grinding, I add the sugar. I add just enough sugar to make the bar the % dark that I want. For example, 70% chocolate would get more sugar than 80%. There’s a fancy formula to calculate it.
Over time the liquid chocolate gets smoother and smoother.
The melanger also gives some air to the chocolate, and that causes the flavors in the chocolate to develop and meld together. It’s similar to how we give wine some air to build flavor after opening the bottle. After 24-36 hours, the chocolate is both smooth and the flavors have developed — it’s time to stop grinding an temper the chocolate so it doesn’t melt in your hand and has that nice “snap” when you break it.
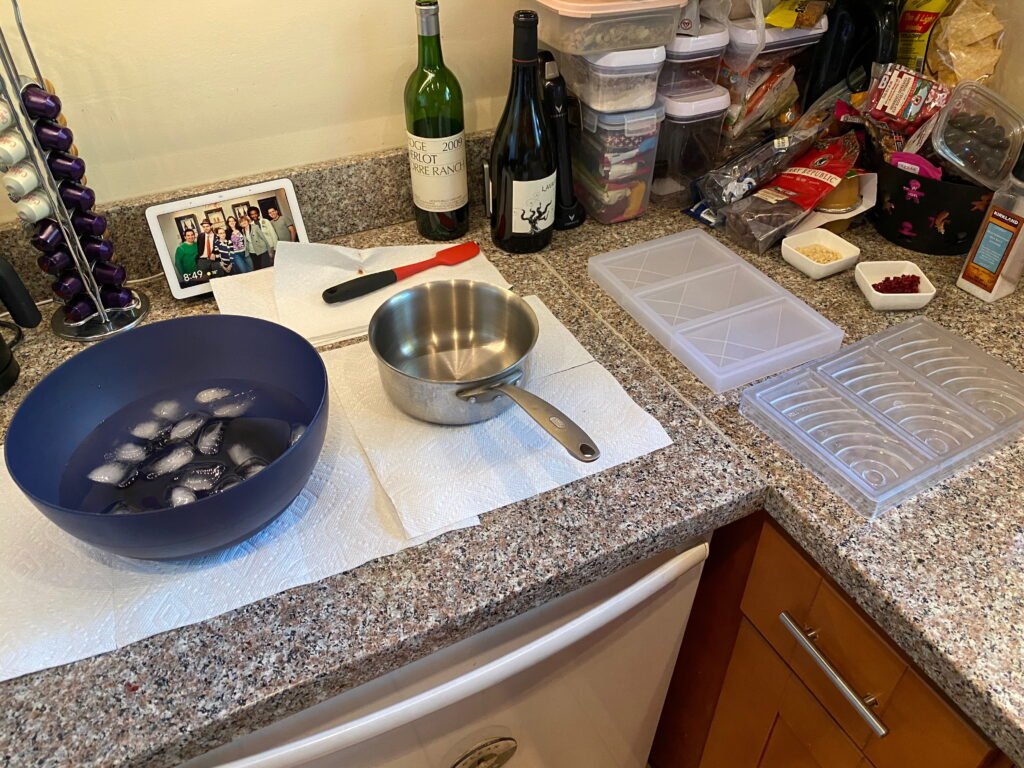
To temper the chocolate you cool it down, then heat it back up to precise temperatures. It’s a painful process and if I mess up, then I have to start over. I’ve found better ways to deal with this using “Cocoa Silk”, which is pre-tempered cocoa butter that can be added in small quantities to instantly temper the chocolate. So much easier!
After tempering, the chocolate is poured into molds, put in the fridge to solidify, and we have chocolate!
Now the real fun begins (insert eye roll). The clean-up! My least favorite part.
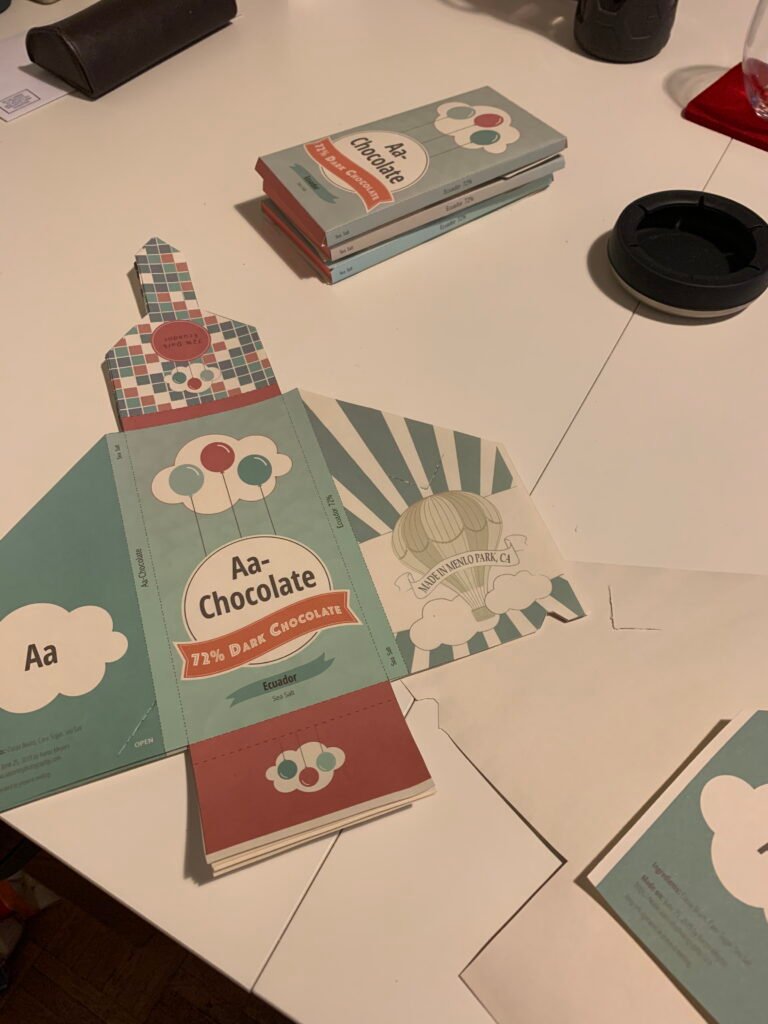
Once we have chocolate bars, I then wrap them in foil…
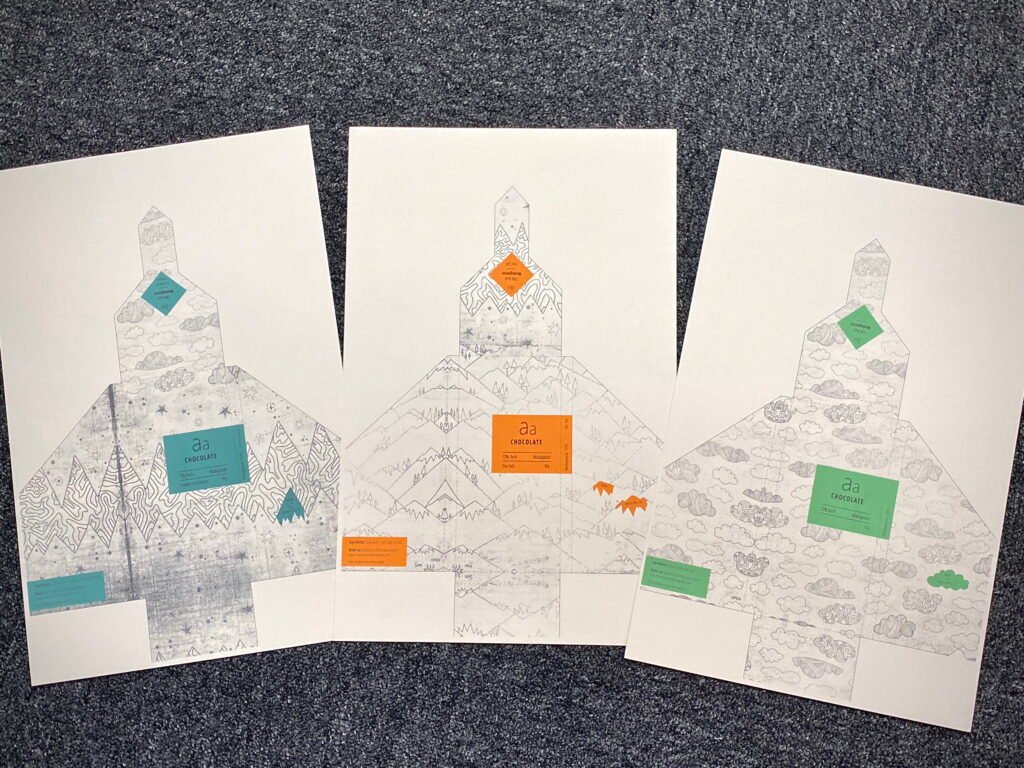
And then put them in boxes that I make from scratch!
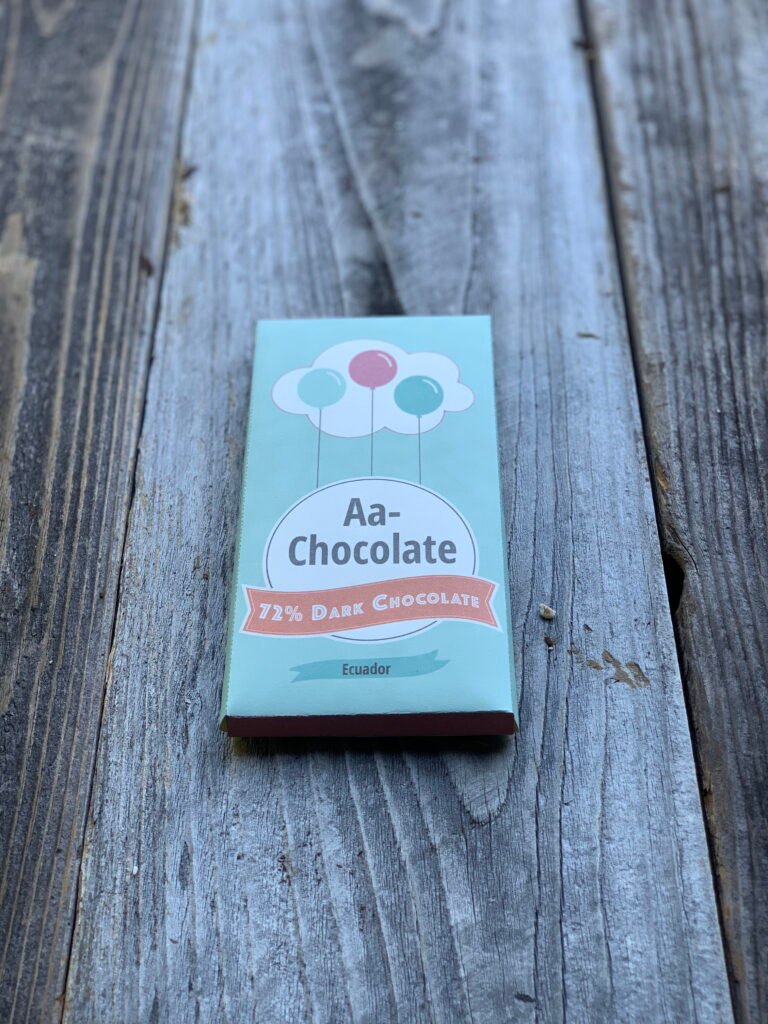
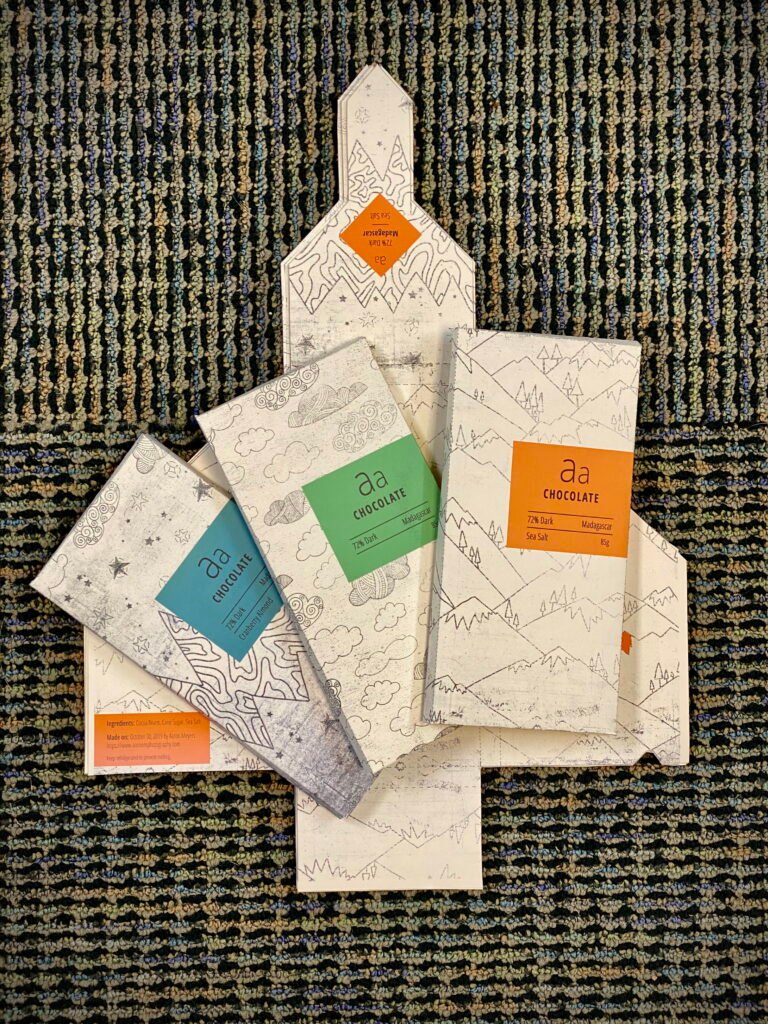
The end! chocolate!